Between Sephora, Mac and every other huge makeup company, it’s safe to say I buy too much makeup but, that doesn’t keep me from buying more! I’m sure I’m not alone in this cosmetic conundrum. Well, since we both know there is plenty more makeup to come, it’s time to get organized!
Makeup Carrier
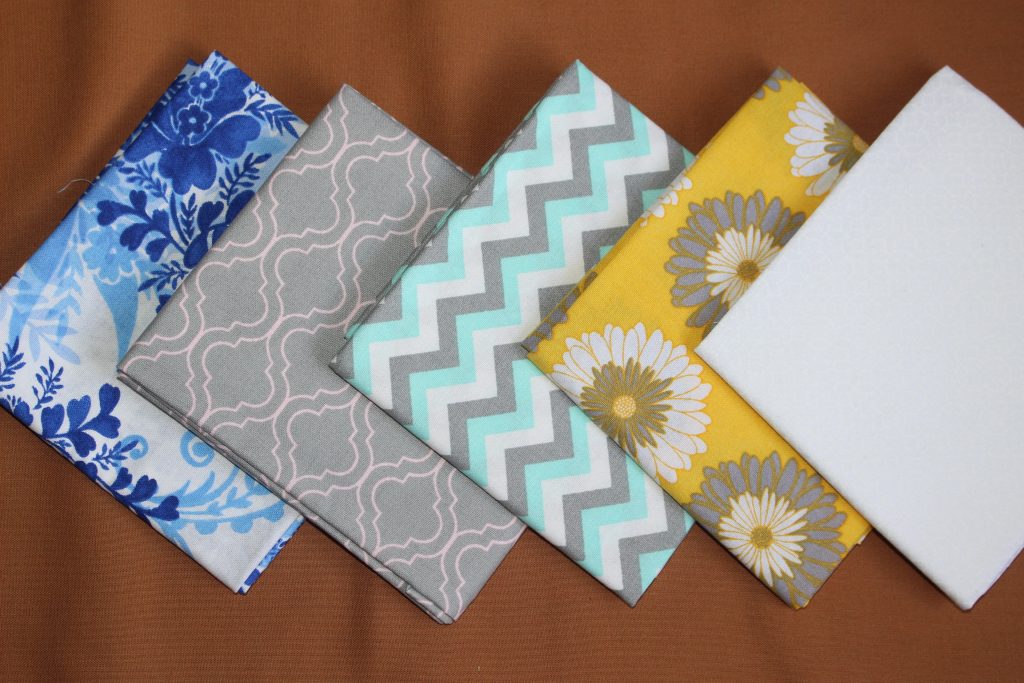
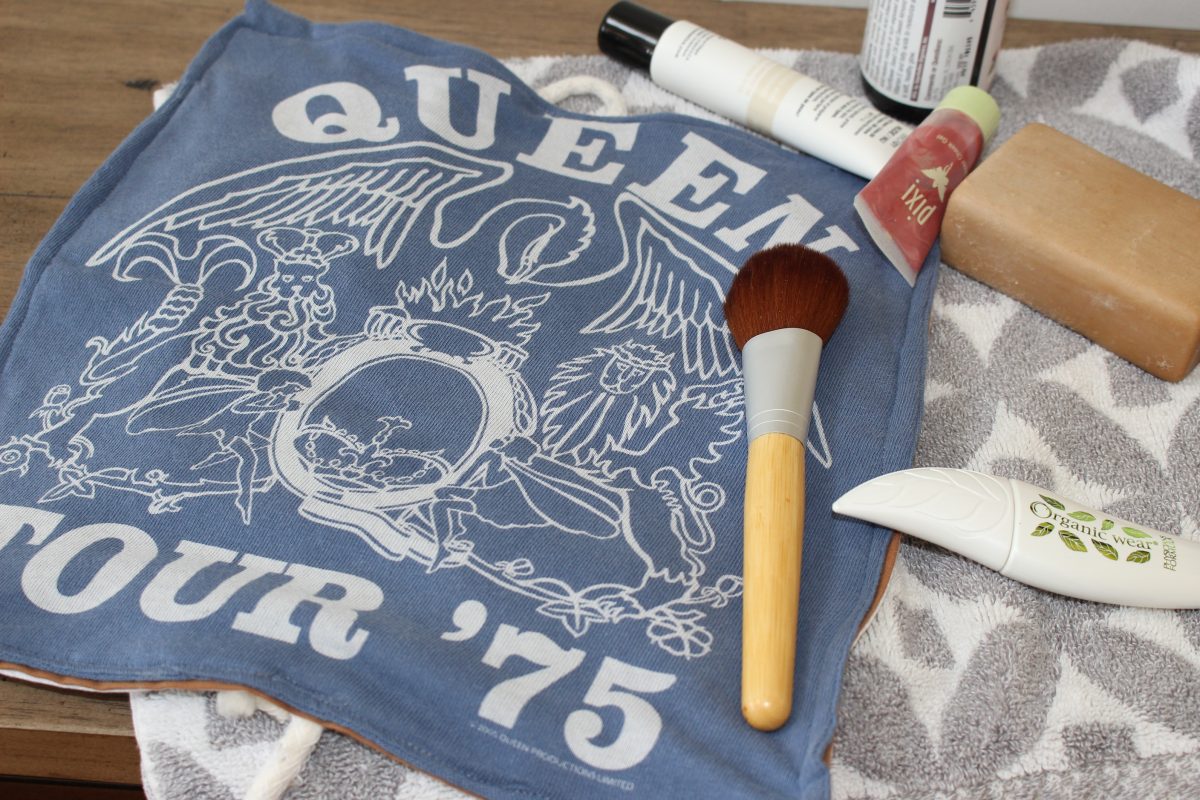
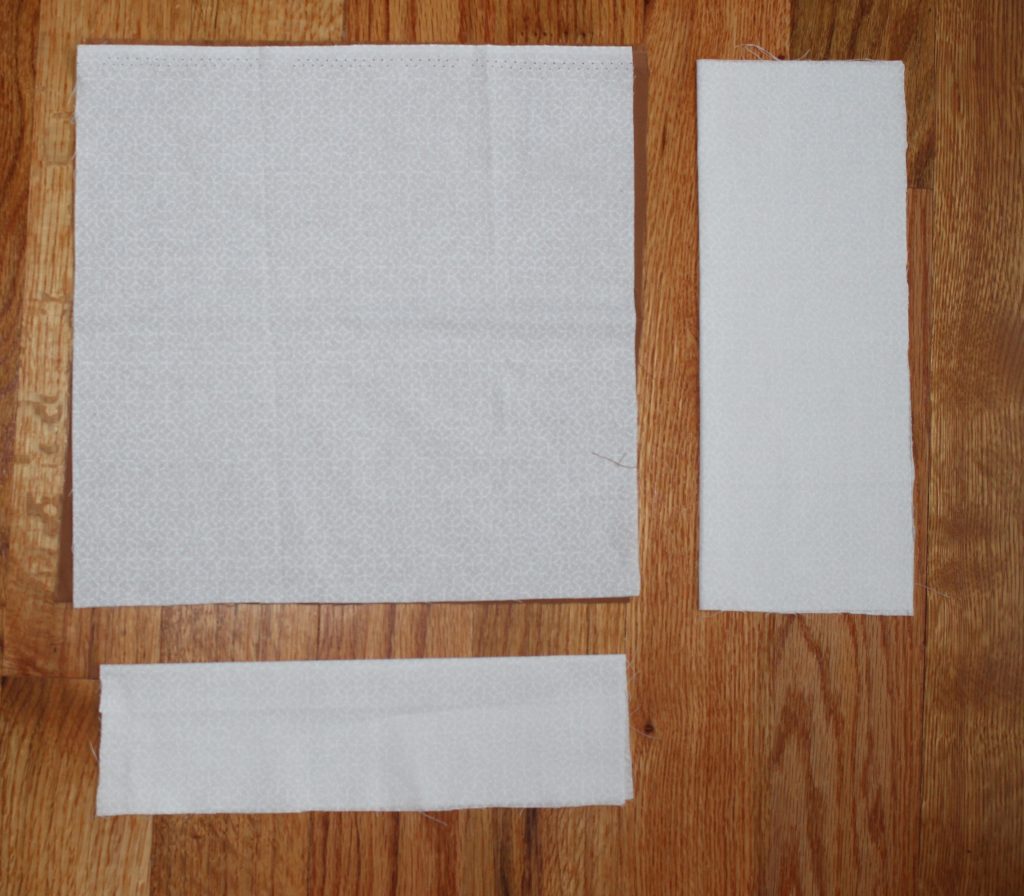
You’ll need:
2 — 12x 12 in. fabric
2 — 12x 5 in. fabric
2 — 12x 3 in. fabric
1 — 4 in. elastic
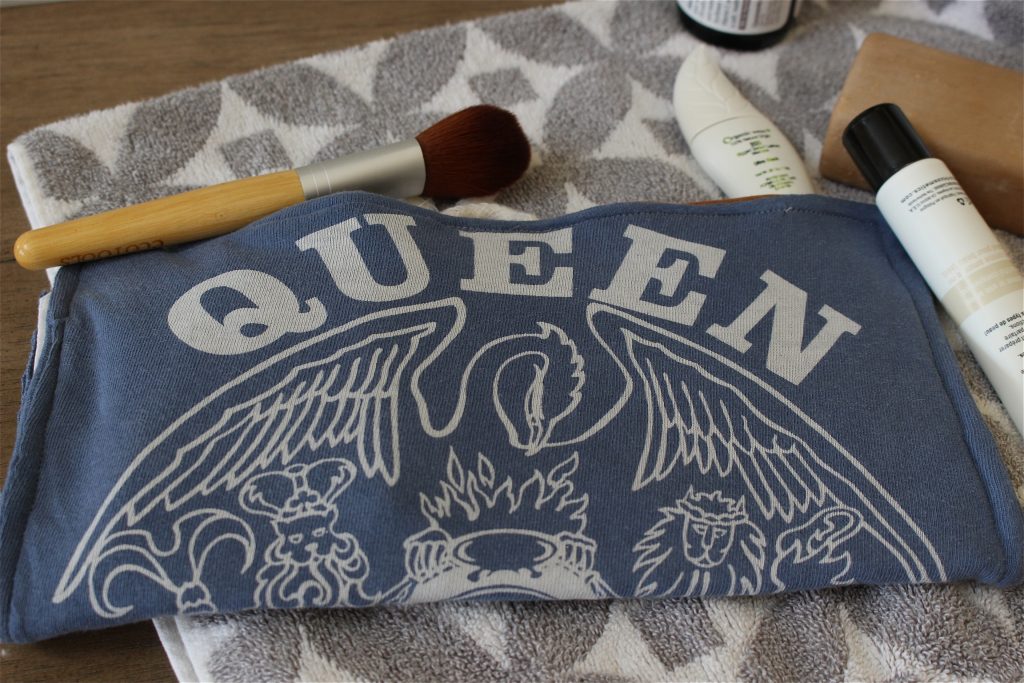
1 — old t-shirt
3 — 3in. Rope
Begin by cutting out each piece of fabric and pinning each fabric to it’s mate. Make sure the right side of the fabrics are facing each other before you pin them.
On a sewing machine, sew together the 12x 12in pieces of fabric, leaving a 3 inch opening to flip the fabric right sides out. Do the same with other two fabric mates. Once everything has been sewn, iron each fabric piece flat.
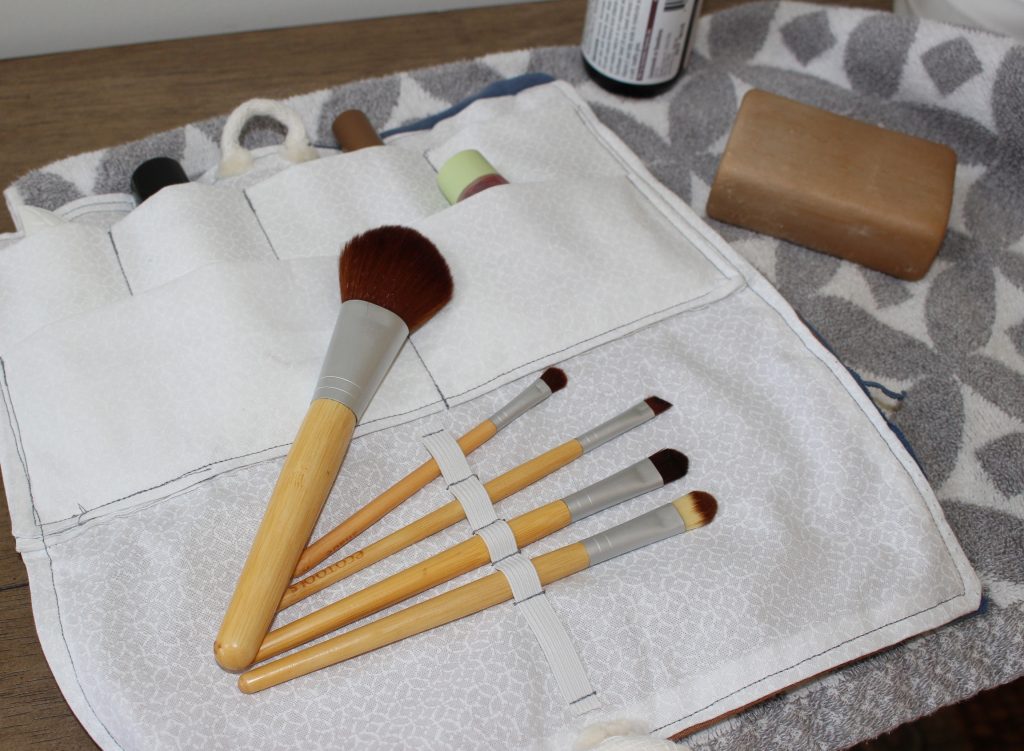
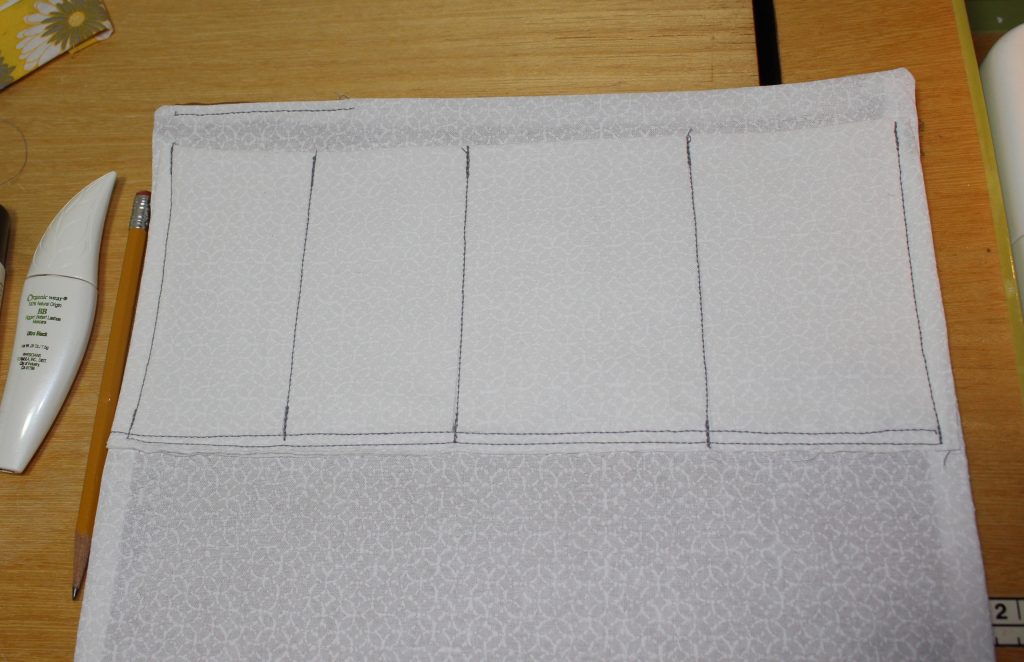
It’s time to start forming the makeup carrier! Fold the 12x 12in sewn piece of fabric in half. Whichever side of fabric you want on the outside, have on the inside. Pin the 12x 5in fabric to one of the sides. Measure how big you want each section to be and draw a line with a pencil. Sew the sides and bottom of the fabric and then the drawn lines, leaving the top open.
*Remember to unfold the 12x 12in fabric before sewing.
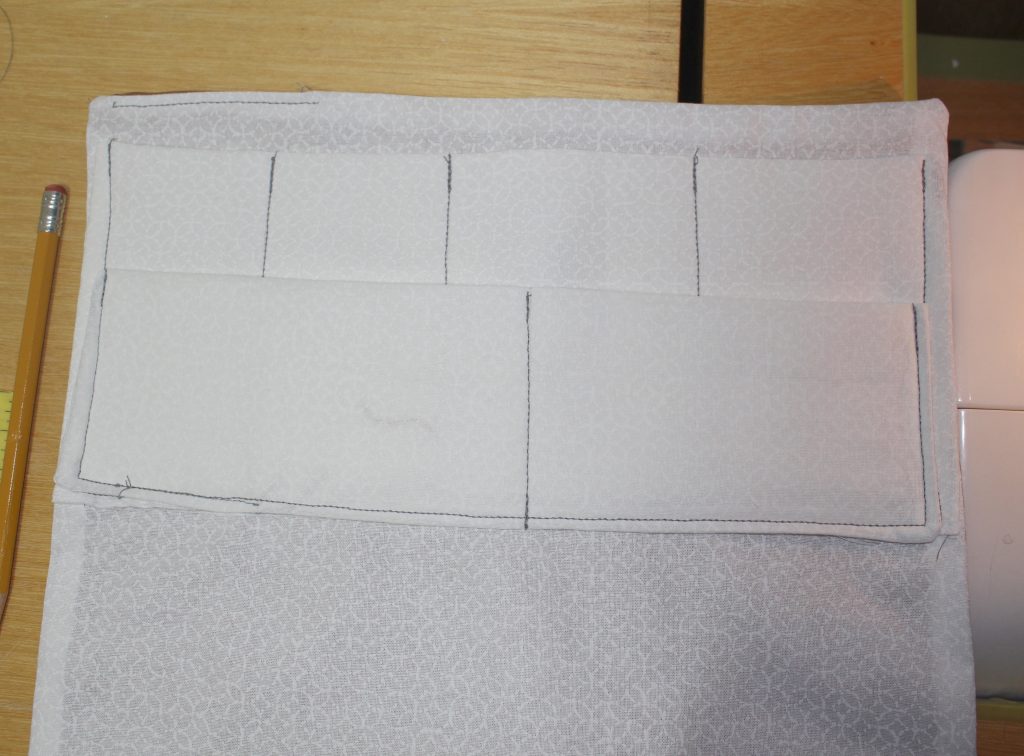
Now pin the 12x 3in fabric on top of the 12x 5in one and sew the bottom, the sides, and if you choose, the middle.
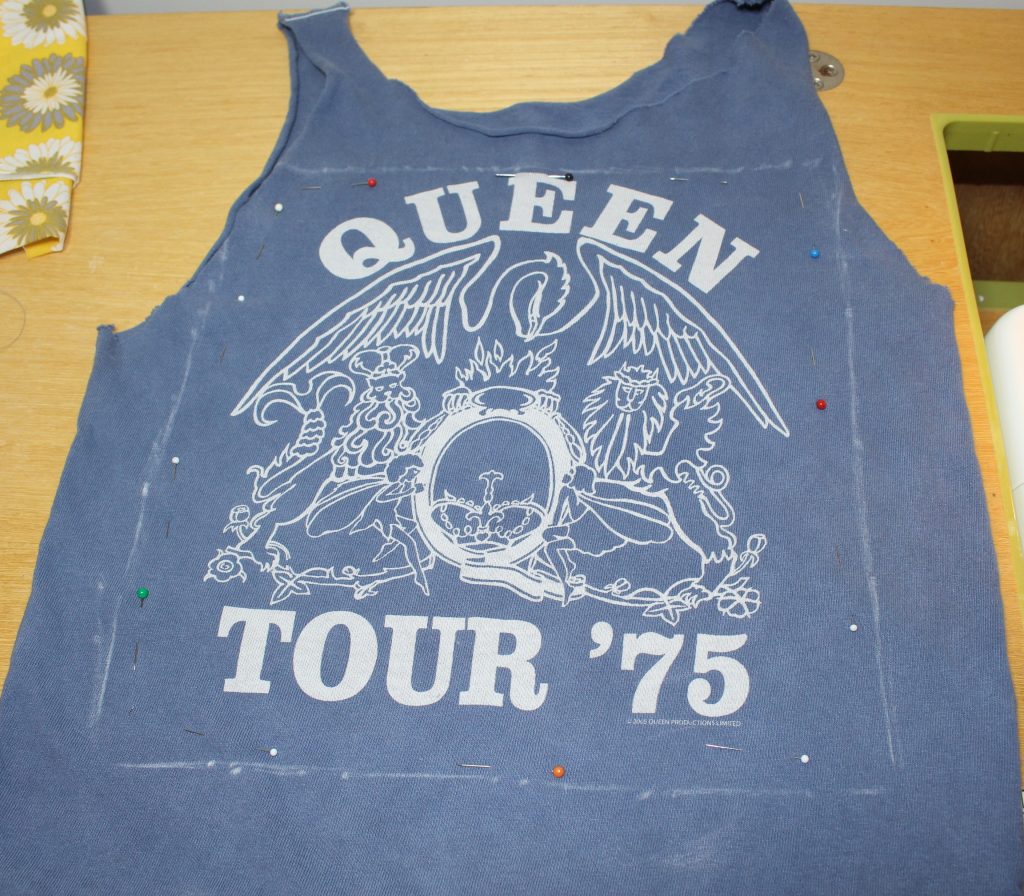
Place the sewn carrier on top of the t-shirt of your choice. Trace along the edge of the carrier but remember to cut the shirt out slightly bigger. Cut out both the front and the back of the shirt. Face the right sides of the fabric towards each other and pin them. Sew along the edges and leave a 3 inch space to flip it the right side out.
Once you finished sewing the shirt, pin it to the back of the makeup carrier and sew along the edges. Cut three 3inch pieces of fabric or rope and attach one in the shape of a U to the top of the carrier and sew the other two strings to the other side. The strings will allow you to tie close your new makeup carrier!