Have you already started your Spring cleaning? Me neither! But, it’s never too late. Spring cleaning always leads to Spring organization and Spring organization always leads to Spring… calendar making? Yep, Spring calendar making, it’s a must! Out with the old, in with the new! This calendar is a triple threat: calendar, bulletin board, and chalk board. No need to look further for your future planning needs. Grab your cork board, a hot glue gun, spray paint and meet me in the backyard!
Materials:
1 18″X24″ Cork Board
4 pkg. 2″X 2″ Multi Color Post-its
1 can Spray Chalk Board Paint
Hot Glue Gun
Chalk
Sharpie
Begin with your cork board (I used a board that I had lying around the house. (Goodwills are littered with homeless cork boards, so you can always pick up a cheap one from there). Lay down cardboard or any other protective material so that the spray paint doesn’t get on the surface you are working on. Spray paint your board making slow, even strokes.
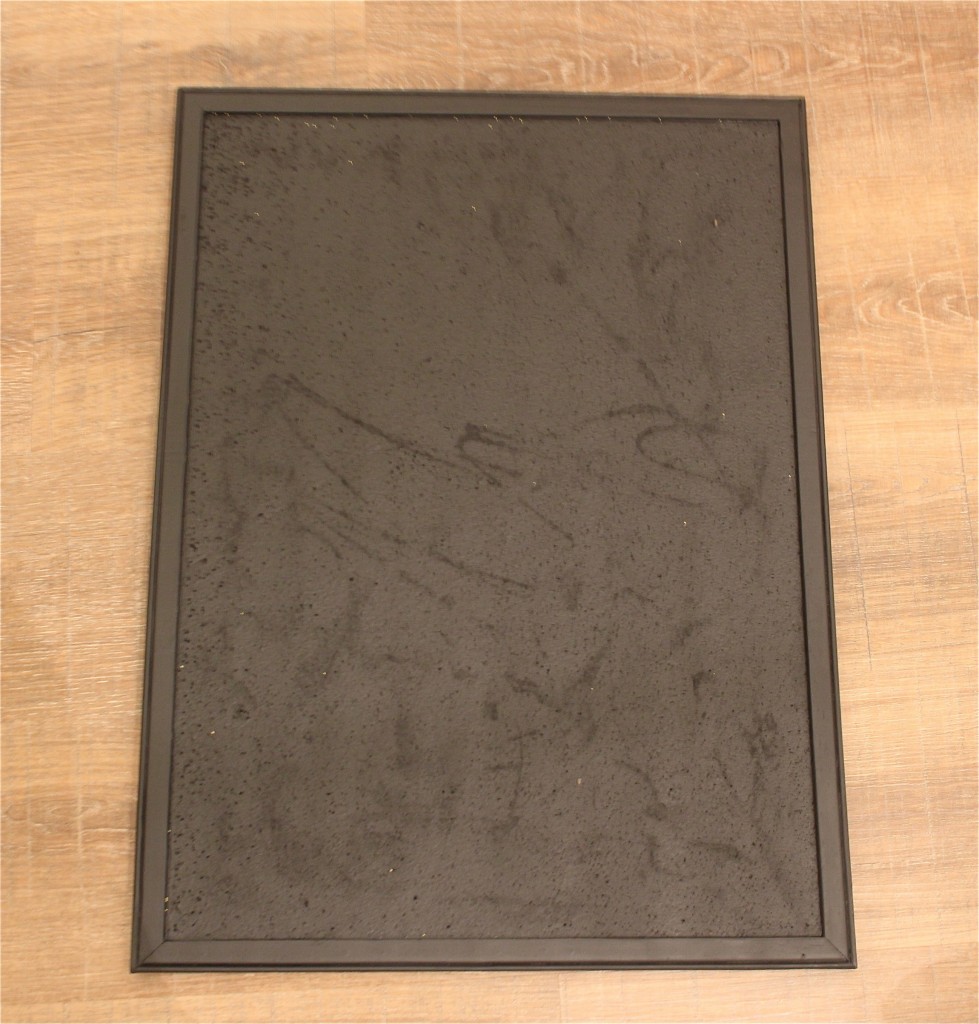
After your cork board is completely coated, allow it to dry for 20 minutes. Repeat the process two more times. Once you are finished with your last coat, let the board completely dry, which takes about an hour or so.
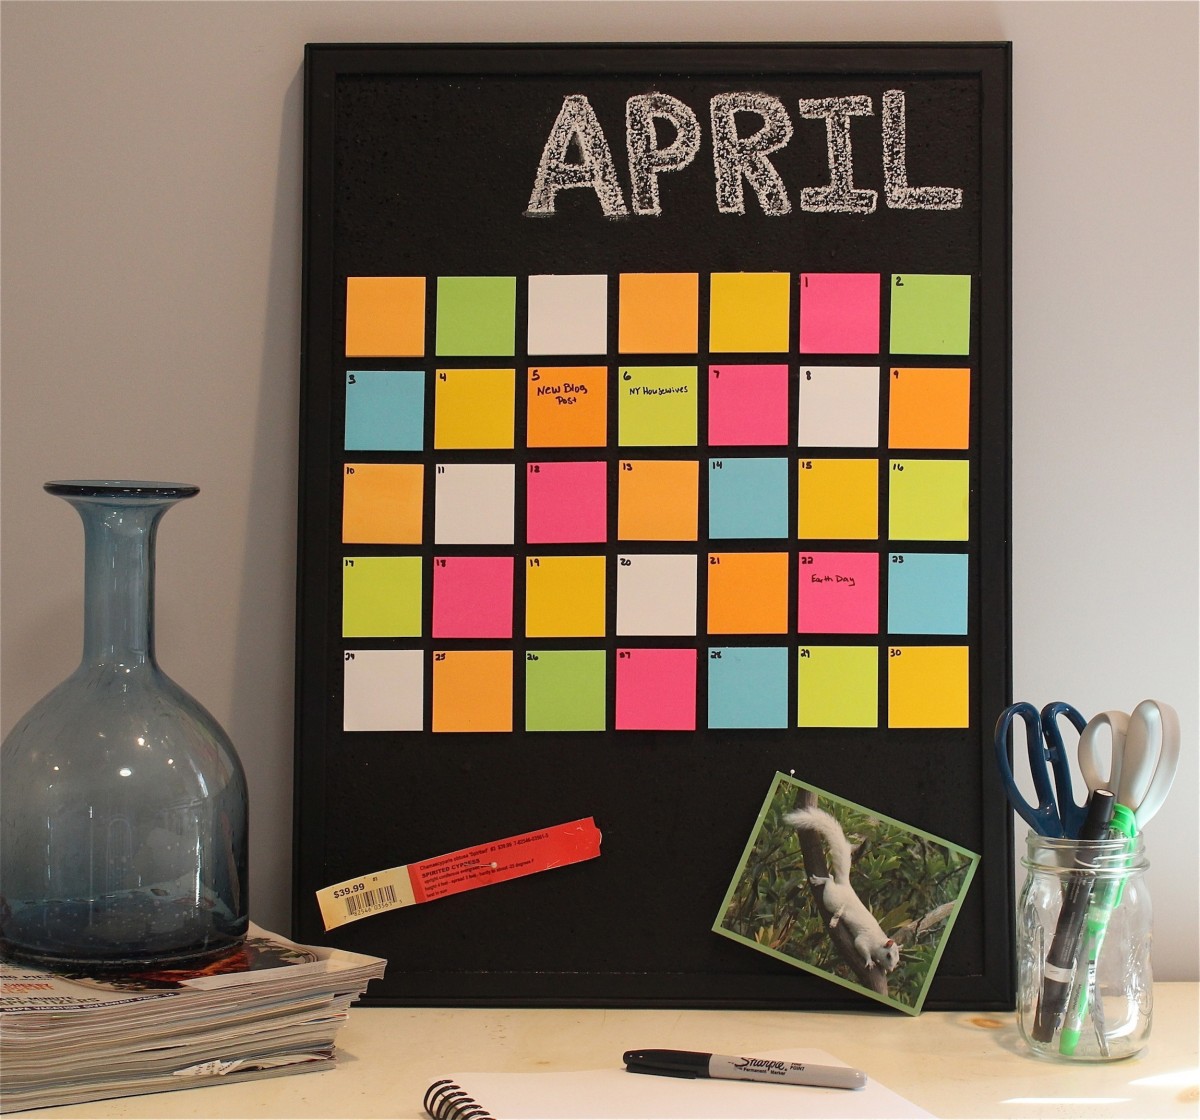
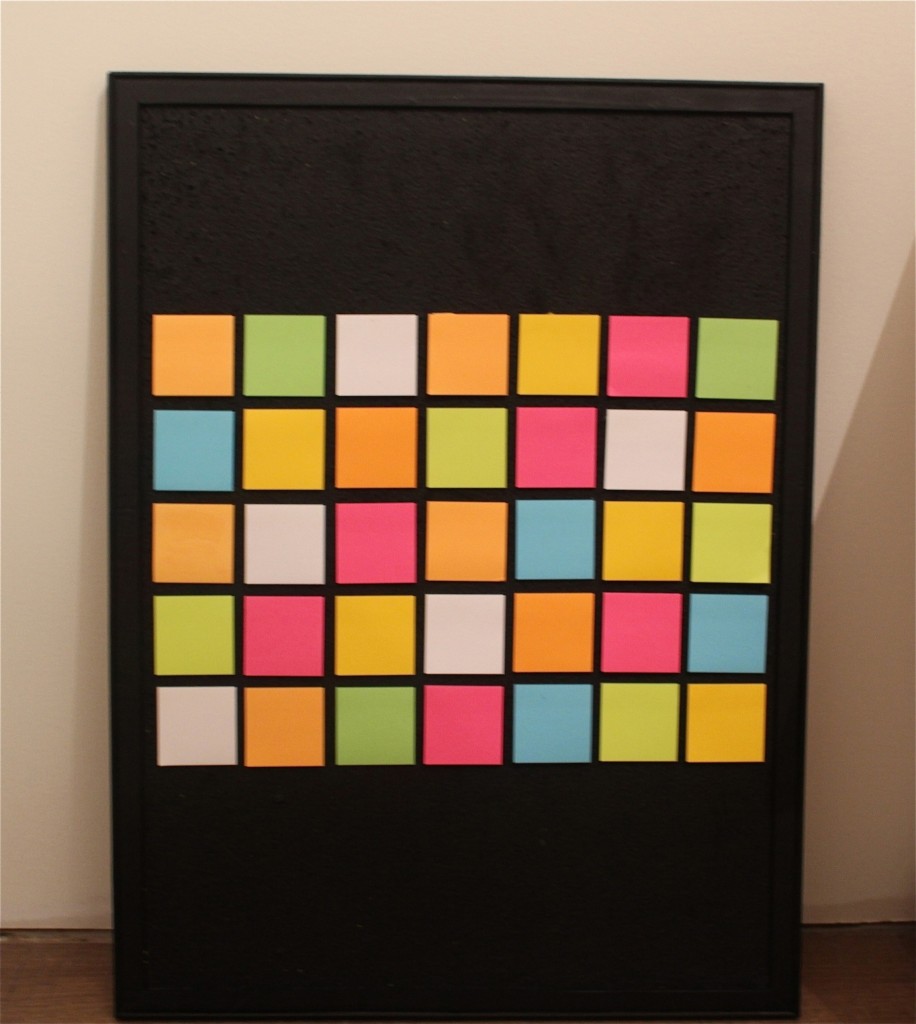
Next step is to glue on your Post-its. Divide the Post-its evenly and make sure to have enough piles for 5 weeks. Space the Post-its evenly on your board and hot glue them in place. All the Post-its will follow the first row so make sure the first one is straight and evenly spaced. Once you are all done hot glueing the rest of the Post-its, it’s time for the finishing touches.
Add the numbers to your calendar and using the chalk add the month.
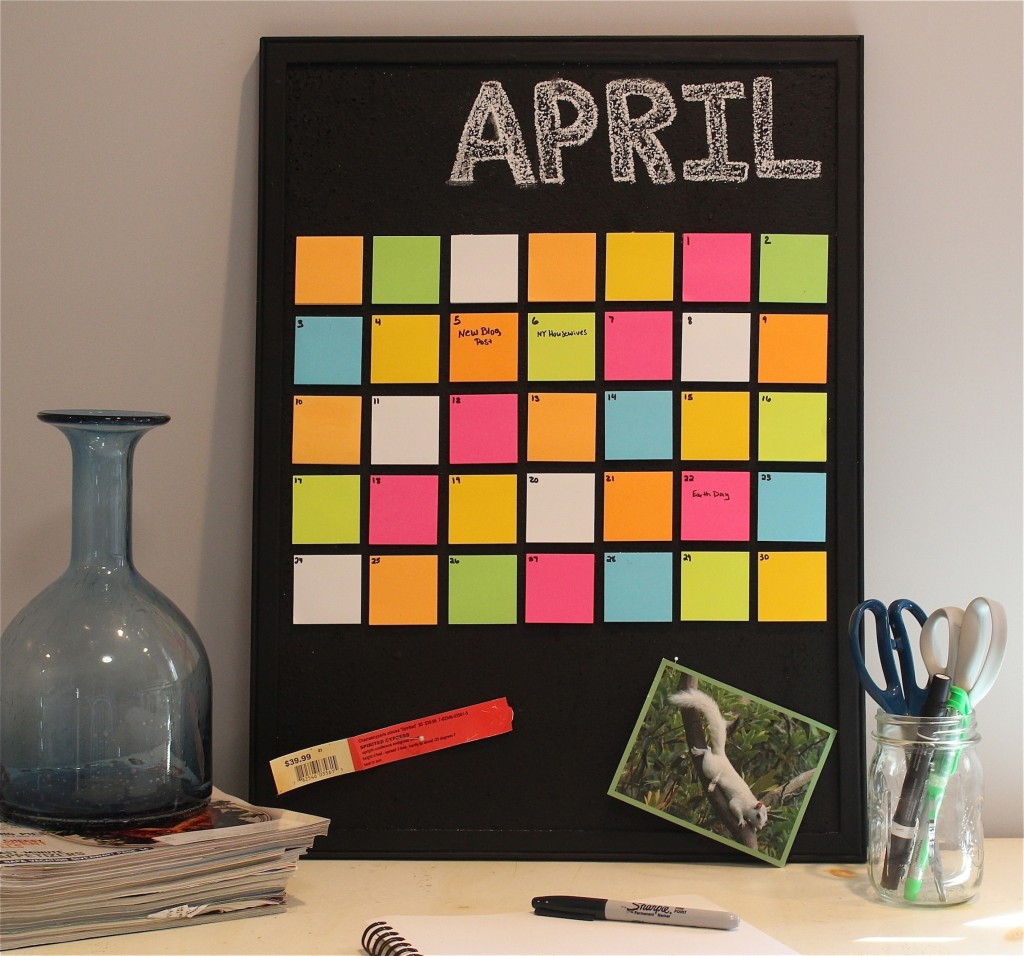
This calendar will at least make it fun to check on all your daily appointments and bill payments.